Making progress!
Sunday, March 11th, 2012
The dome installed with window trim and under lights polished and wired in.
13minpaydayloans.com 13minpaydayloans.com
The dome installed with window trim and under lights polished and wired in.
You’ve heard of interpretive dance? This is an interpretive repair. Colin suggested I reinforce the dome due to the minor cracking at the rivet holes before I rehang it. He also mentioned automotive tape for applying letters/plaques to the exterior in a different convo. I merged the two ideas and used automotive tape to apply a strip of aluminum to the edge of the dome. I drilled and cleco’d the aluminum with the plastic’s original holes until it gets hung up. The final rivets will secure it nicely, I think. We’ll see…

Crack in front dome, one of 3-4 small cracks near rivet holes.

Tape applied to edge of front dome.

Adding the aluminum strip over the tape.
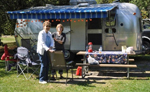
I was hoping to have the front section completely gutted before the NE Tin Can Tourist Rally that’s happening this weekend in Sampson State Park, but I’m still happy with my progress. I really can’t do much more until I disable the rest of the trailer. So here is my latest shot.
[Click picture for larger view.]
I have developed my own labeling system that includes location and over/under lapping and imprinted with a sharpie and photo documentation. I hope it still makes sense next summer.
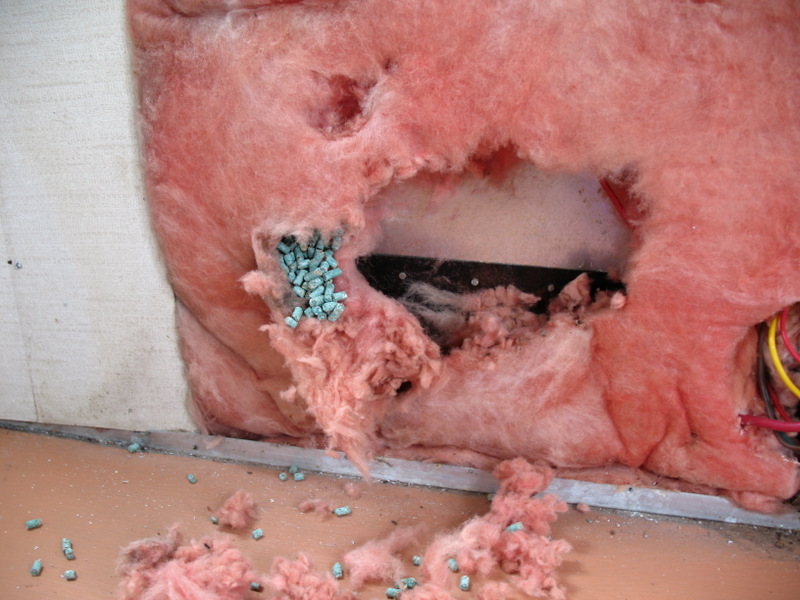
I did find an old mouse nest in the front section full of decon. The rest hasn’t been too interesting.
[Click picture for larger view]
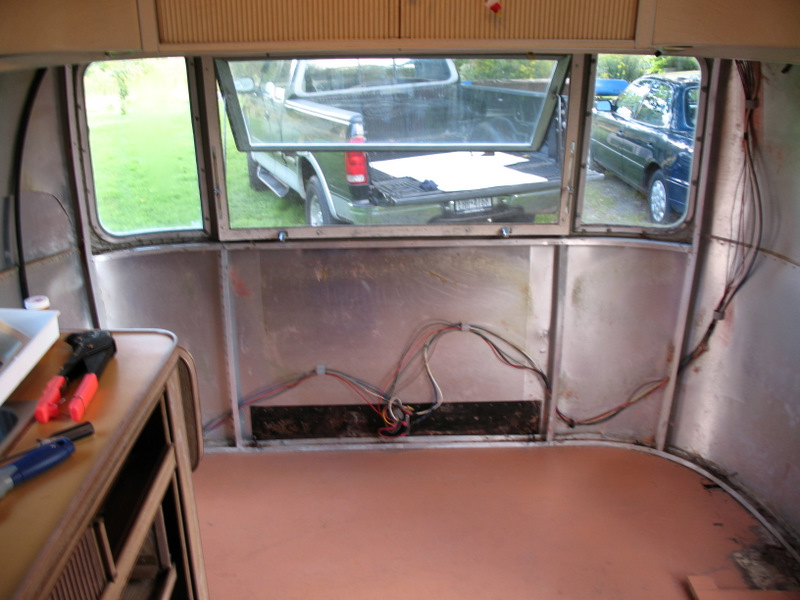
 Well, not exactly. After drilling out many rivets with my new Makita (lost count how many) and the removal of electric switches, curtain hardware, window screen, and interior door trim (tricky one), the wall eventually comes out after you de-stick it from its siblings. The insulation wasn’t in as bad a shape as I thought it would be. Next section, I’ll take a picture before removing the “pink”, I was overly anxious to see the inside of the outside wall.
I’ve been reading about replacing LED’s on the Digital RV and Airstream forums. Its difficult finding replacement incandescent bulbs locally, let alone LED’s. It’s great to Google “LED replacement GE 1383” (number on the bulb) and find a few options. Of course the one I want is $expensive$, but I’m going to keep an eye on it for a while and see if they come down in price. At least I learned some lamp terminology. I couldn’t figure out what to call the base on this one. It came out of the recessed fixtures over where the gaucho was. This will be the dinette and a bed. It’ll be good to have long-lasting energy-efficient lamps there for reading.
Old one looks kinda like this one

LED replacement looks like this

BXL630 – Elevator Cab Ceiling Spotlight LED Bulbs
Replaces “R12 Style” Incandescent #1383 & 1388
15mm Single Contact Bayonet Base
I’ve also been looking at mini-speakers that I could plug into my pda/phone so I can listen to mp3’s without headphones. I think I want something more than the cheap ones on Amazon. Guess I’ll need to investigate this more.
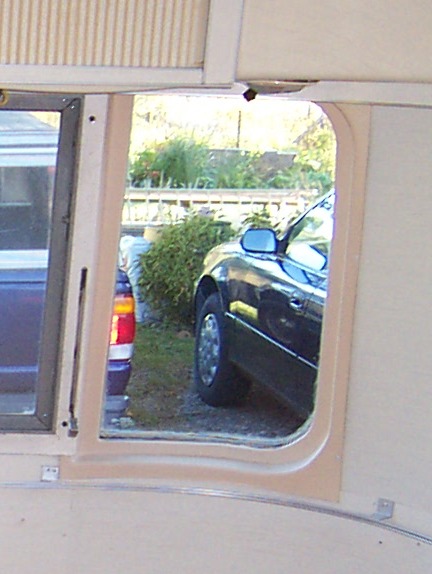
I read online that I could remove the inside pane of the broken side window by disconnecting the big window arm openers (bolts), removing the big screen (sheet metal screws), the plastic cover over the side window (drilling out the rivets), and then unscrewing the frame of the inside pane (sheet metal screws). Well, I got to the last step and the screws look like they were sealed at the factory with liquid metal.
I tried every implement and tool I have, including a propane torch with no luck. I’m afraid to use an impact wrench for fear of breaking the good pane of glass. Soooo, I took out the broken safety glass by hand (literally) and dug out the 3/8 inch groove of chunks of glass and scraped off the window seal that was between the panes. In the end, I decided it looks fine and will just not have a storm on this window.

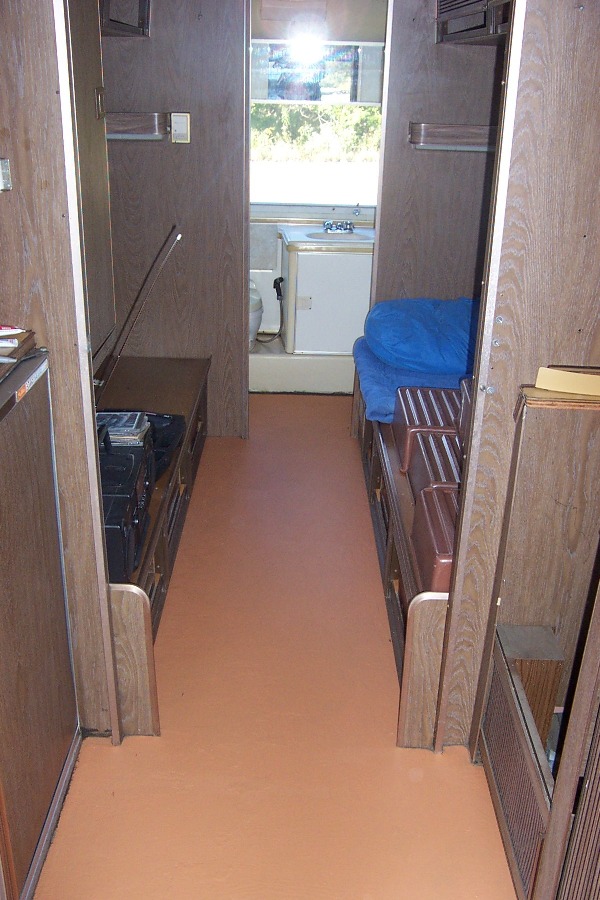
I couldn’t stand the subfloor anymore, so Cay gave me some floor paint that she couldn’t use because of the color – its pumpkin. Perfect for this lovely fall weather. I put two coats on, only two hours of work and its so nice to have it sealed.
I took the credensa out to be able to watch the leak and to fix the floor and in the process went right through the floor.


Bag-o-wasp nests… the top front vent was so full that when it was cleaned out I kept thinking there was a light on since I was used to no light or air coming through. Thank heavens the wasps were dead!

Inside view of the broken window. Its only cut me twice now.

Copyright © 2026 Get Out the Map. All Rights Reserved.
No computers were harmed in the 0.105 seconds it took to produce this page.
Designed/Developed by Lloyd Armbrust & hot, fresh, coffee.